First run Tiled. Go to the directory, where you have unpacked and
installed it. On my machine it's
~/dist/tiled-0.5.0/dist/.
So I type on the terminal:
[igneus@vidhost ~]$cd ~/dist/tiled-0.5.0/dist/[igneus@vidhost dist]$java -jar tiled.jar
The second command runs the Java application from archive
tiled.jar
(in your installation it can have a different name!).
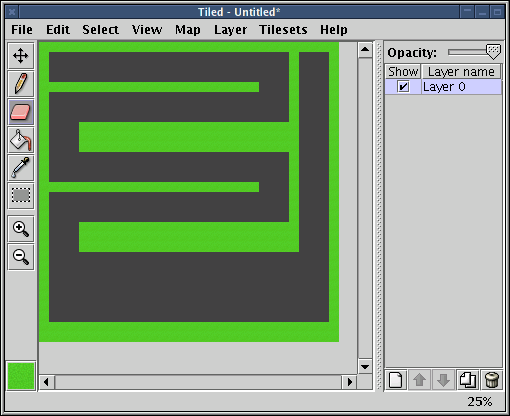
After a moment you should see something like this:
Of course some problems can (and probably will) occur. I, for example, had to delete the pre-compiled binaries (which are by default packed in the distribution) and recompile the application, because it had been linked with newer libraries than I had on my machine.
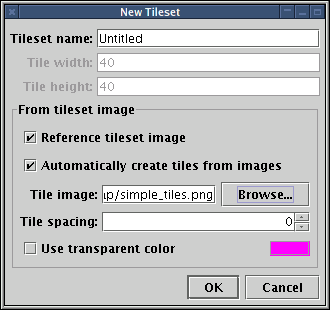
When Tiled is running, open the menu Edit and select item named Preferences. It has three tabs, only the one called Saving is important for us. Set it to the state you can see on the image below, then click on Apply and OK.

This setup is the only one which works well with freeVikings. The other ones won't probably work well.