This chapter will guide you through the first steps of the freeVikings level developer. You will start with clean hands and end with a ready to use map.
What do you need? At least you need a computer with a running[3] freeVikings installation and some plain text editor. If I could recommend you some, I would tell you to choose GNU Emacs (because I like this great beast), but any editor with XML syntax highlighting is good enough for our purpose and you can, if you are some kind of fanatic, use ed od NotePad of course.
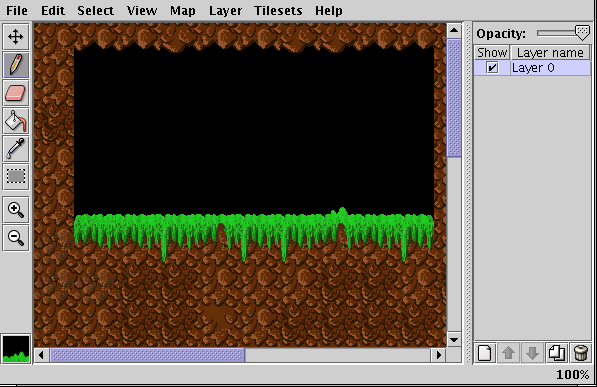
Another good thing to install on your computer is Tiled (http://mapeditor.org), a Java-written tile map editor. Version described in this tutorial is Tiled 0.5.0, but (with a possible delay) support for future versions will be added to freeVikings, because Tiled is a good tool and up to now new releases have always been worth upgrading.

Just one more application. Some graphic editor for creating all kinds of graphics. I personally use GIMP (http://www.gimp.org). It has a lot of interesting features, is scriptable and free. You will need some graphic editor to make your own tilesets (those distributed with freeVikings aren't still any good) and maybe your own creatures to make the new levels more interesting.
[3] At first I wrote "well running". Then I looked at the text I had just written. FreeVikings do never run well... And I retyped the sentence quickly.